Montessori Sensorial Mini Bundle
Montessori Sensorial Mini Bundle
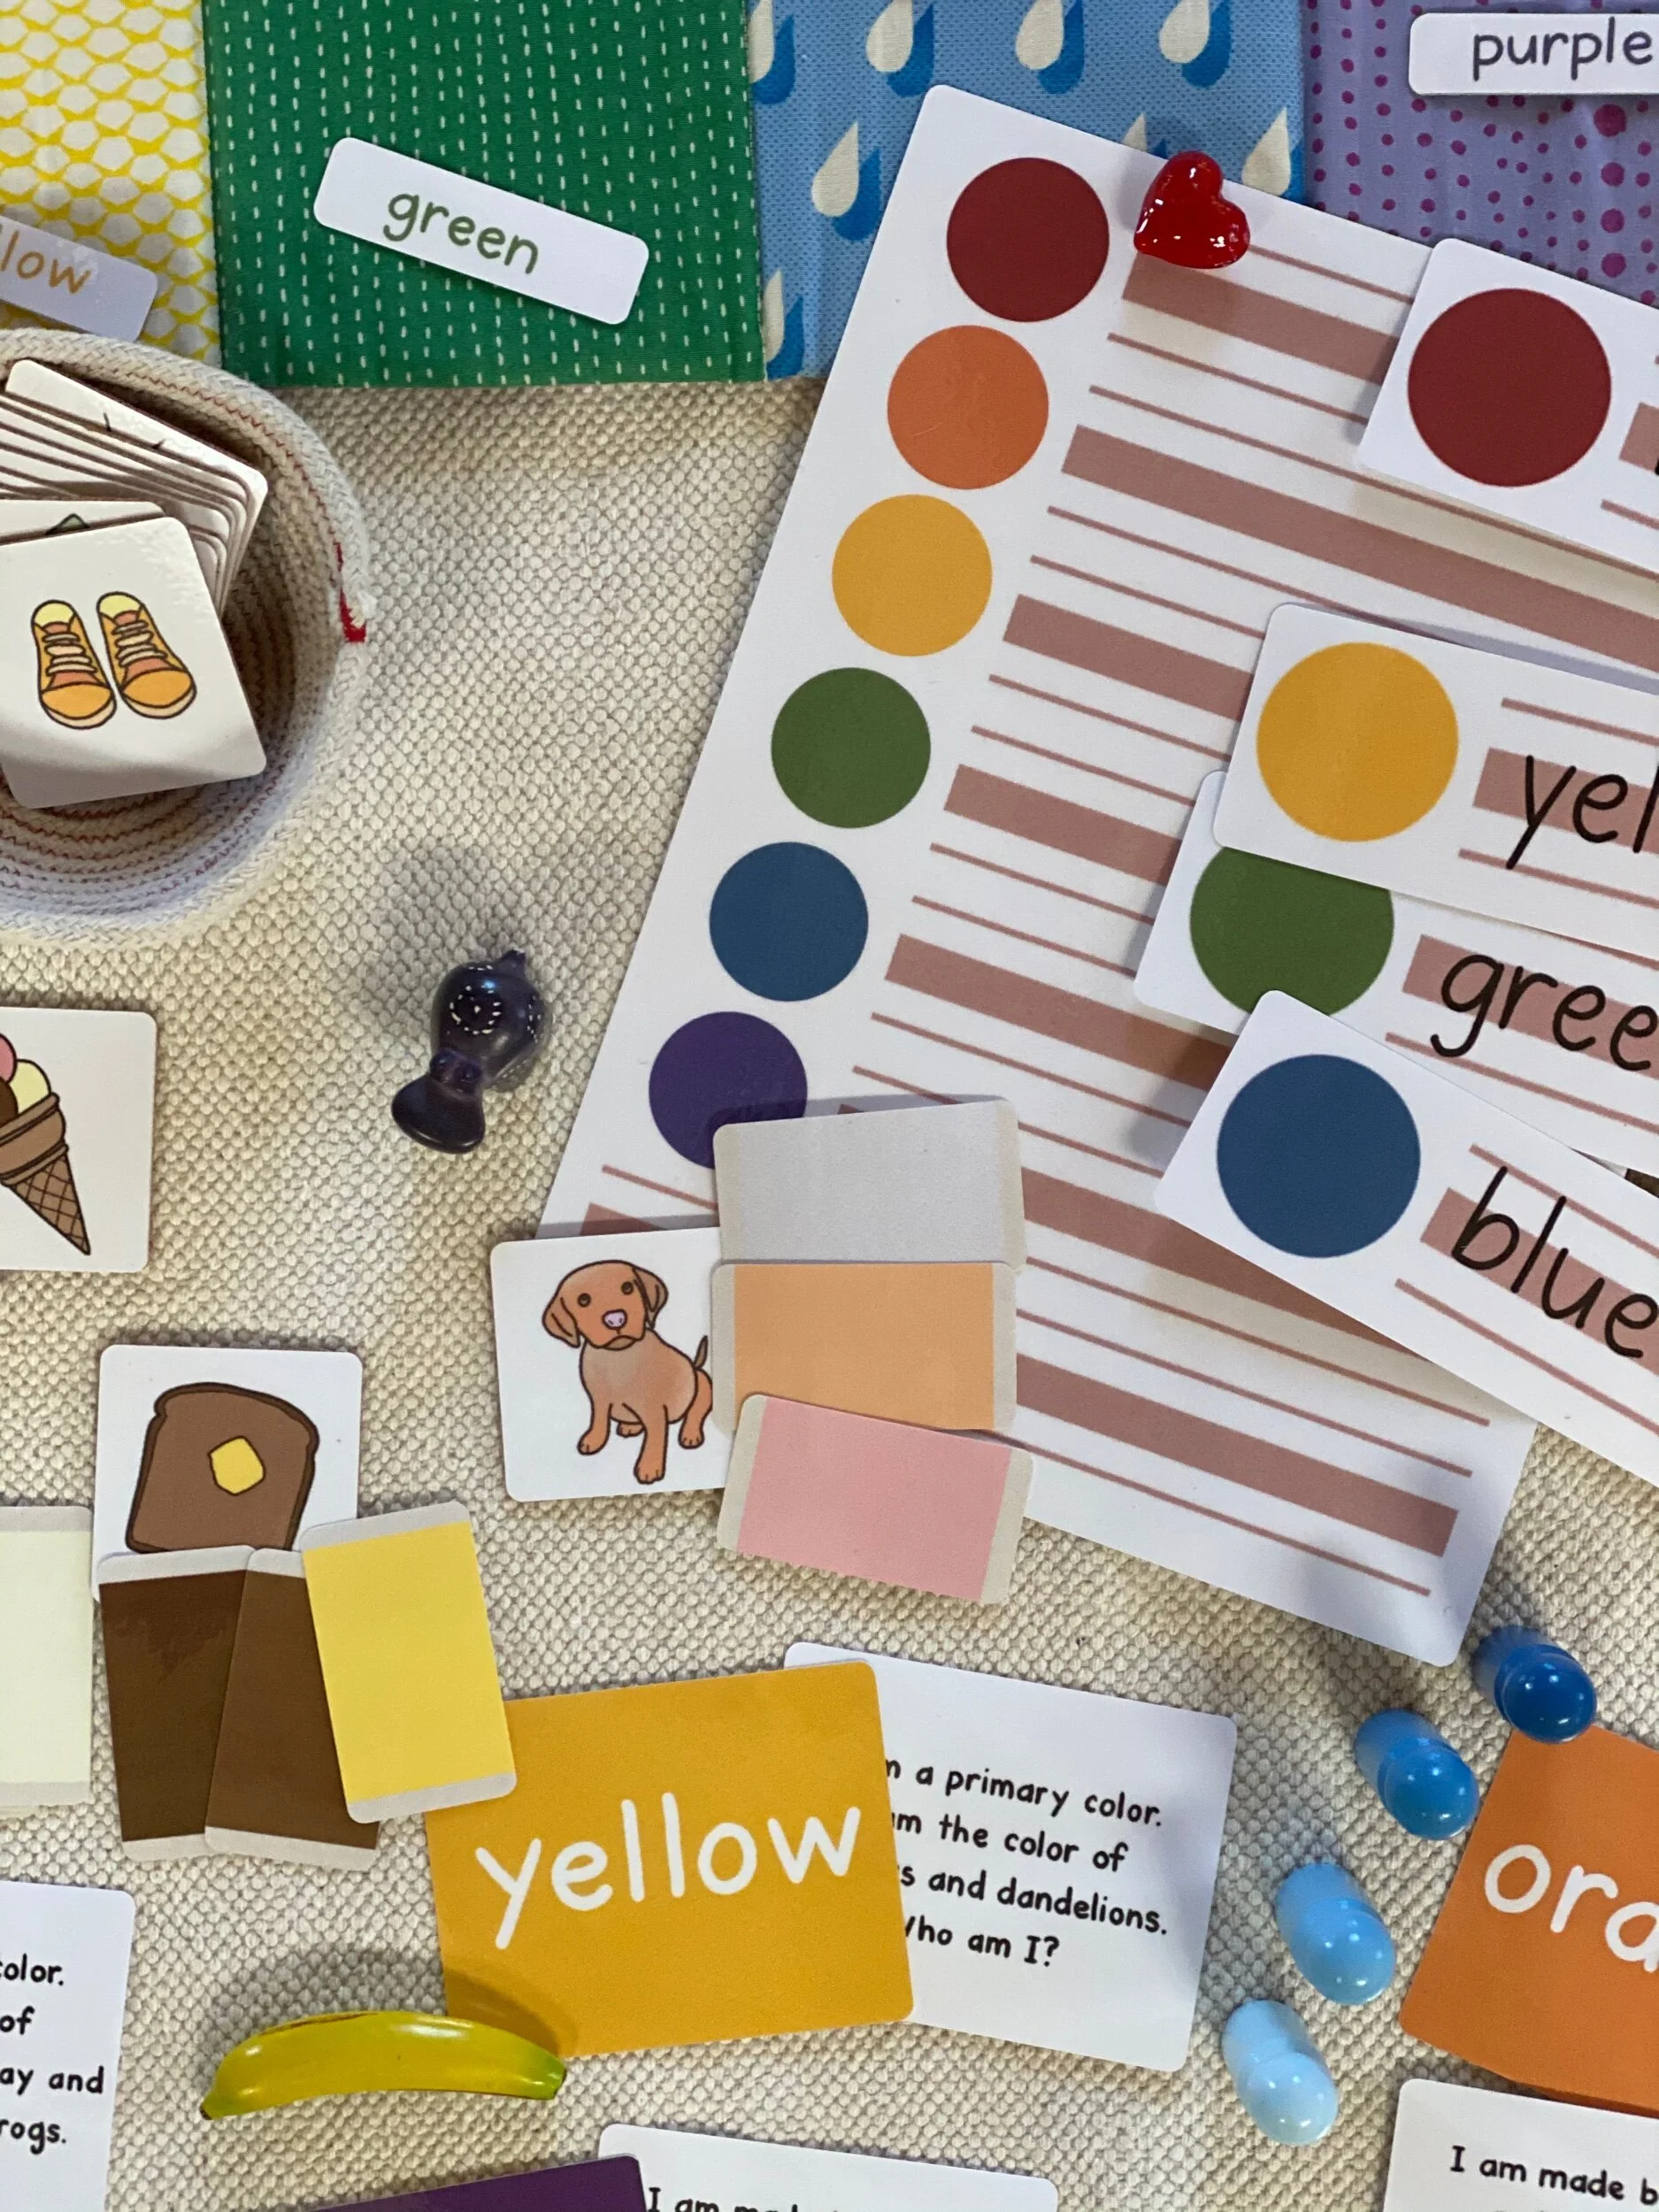
Color Wheel Mixing (M): Print on sturdy cardstock and laminate (best suited for thick lamination). Make available with 3 droplet bottles: one with yellow water, one with blue water and one with red water. You can use food coloring mixed with water but for the most vibrant colors, use liquid watercolors. Place one droplet of each color on the colored dots, mix inside each circle using a toothpick. Using a sheet of a white paper towel, lay it over the wheel. I like to use a 1 minute sand timer to offer a little time for the paper towel to soak up the dye.
Color Scavenger Hunt (M): Print/laminate and cut small pictures. Hide them around your environment by sticking them to the walls or furniture using blue tac. Provide student sheets in a folder. Child can use a clipboard to clip one student sheet and grab a pencil. Child hunts around environment.
Color Box 3 (M): This is a printable version of Color Box 3. Even though I have the actual Color Box 3 in my classroom, I still offer this as a separate work to go along with the Color Tablet Matching Cards. Print and laminate, I like to round the edges to make them even more realistic.
Color Tablet Matching (M): Print and laminate. I have these mounted on sticky back cork in my classroom, but they work fine as just a card. I offer these in the same basket as the printable Color Box 3 tablets. Lay out each picture on a work mat. Take the stack of printable Color Box 3 "tablets" spreading them out like you would a deck of cards along the bottom of the mat. The child then searches for the colors that are in each picture card.
Silhouette Matching (M): Print and laminate - attached the two black and white sheets together either before or after lamination (depending on the size of your laminator). You may want to mount it on cardboard or cork so that it has sturdiness. Cut out "objects" along their edges, perhaps mounting on sticky backed cork or foam paper to give them a bit more weight. Children can match objects to their silhouettes.
Geometric Sorting Cards (M): Print, laminate and cut out. Store them mixed up in a basket. These go along with the Geometric Solids. Lay out the solids on the top of a work mat. Have the student sort the pictures by laying them underneath each object. 30 pictures in total, 3 for each shape.
Constructive Triangles (M): Print and laminate. If you wish, mount these on cardboard or cork. Sort them by each box (triangle box, rectangle box, small hexagon box and large hexagon box).
Constructive Triangle Box Booklets (M): Includes the Triangle Box, Rectangle Box, Small Hexagon Box and the Large Hexagon Box. Use this alongside the printable triangles or with your wooden boxes in your learning environment. This can be a tool for the teacher - read each page to your student and allow them to follow the directions. They also serve as a visual for the child when laid out in sequential order as cards. I make them into booklets using a 1/2" book ring and store them on top of the corresponding Constructive Triangle Boxes.
Note: Please use these materials in your classrooms and homes but send your friends our way to purchase their own. We work hard to create beautiful handmade materials which help support our families.