Hand work and Young Children
While I was listening to one of my favorite podcasts, “Love To Sew”, on my way to school this morning, I began reflecting on my hand work journey. I remember sewing with my mom and my grandmother on an old drop down sewing machine when I was small. I remember begging my mom to sign me up for an after school sewing class (she did), I always ran to the “craft” class sign up sheet at sleep away camp and you bet I chose Home Ec for my middle school elective. I was/am a kid who always was making something, thinking of something to make or bugging my mom to help me make something. She always obliged. Just one reason why I love being a Montessori teacher is that I can encourage and cultivate that same natural childhood need in my own classroom.

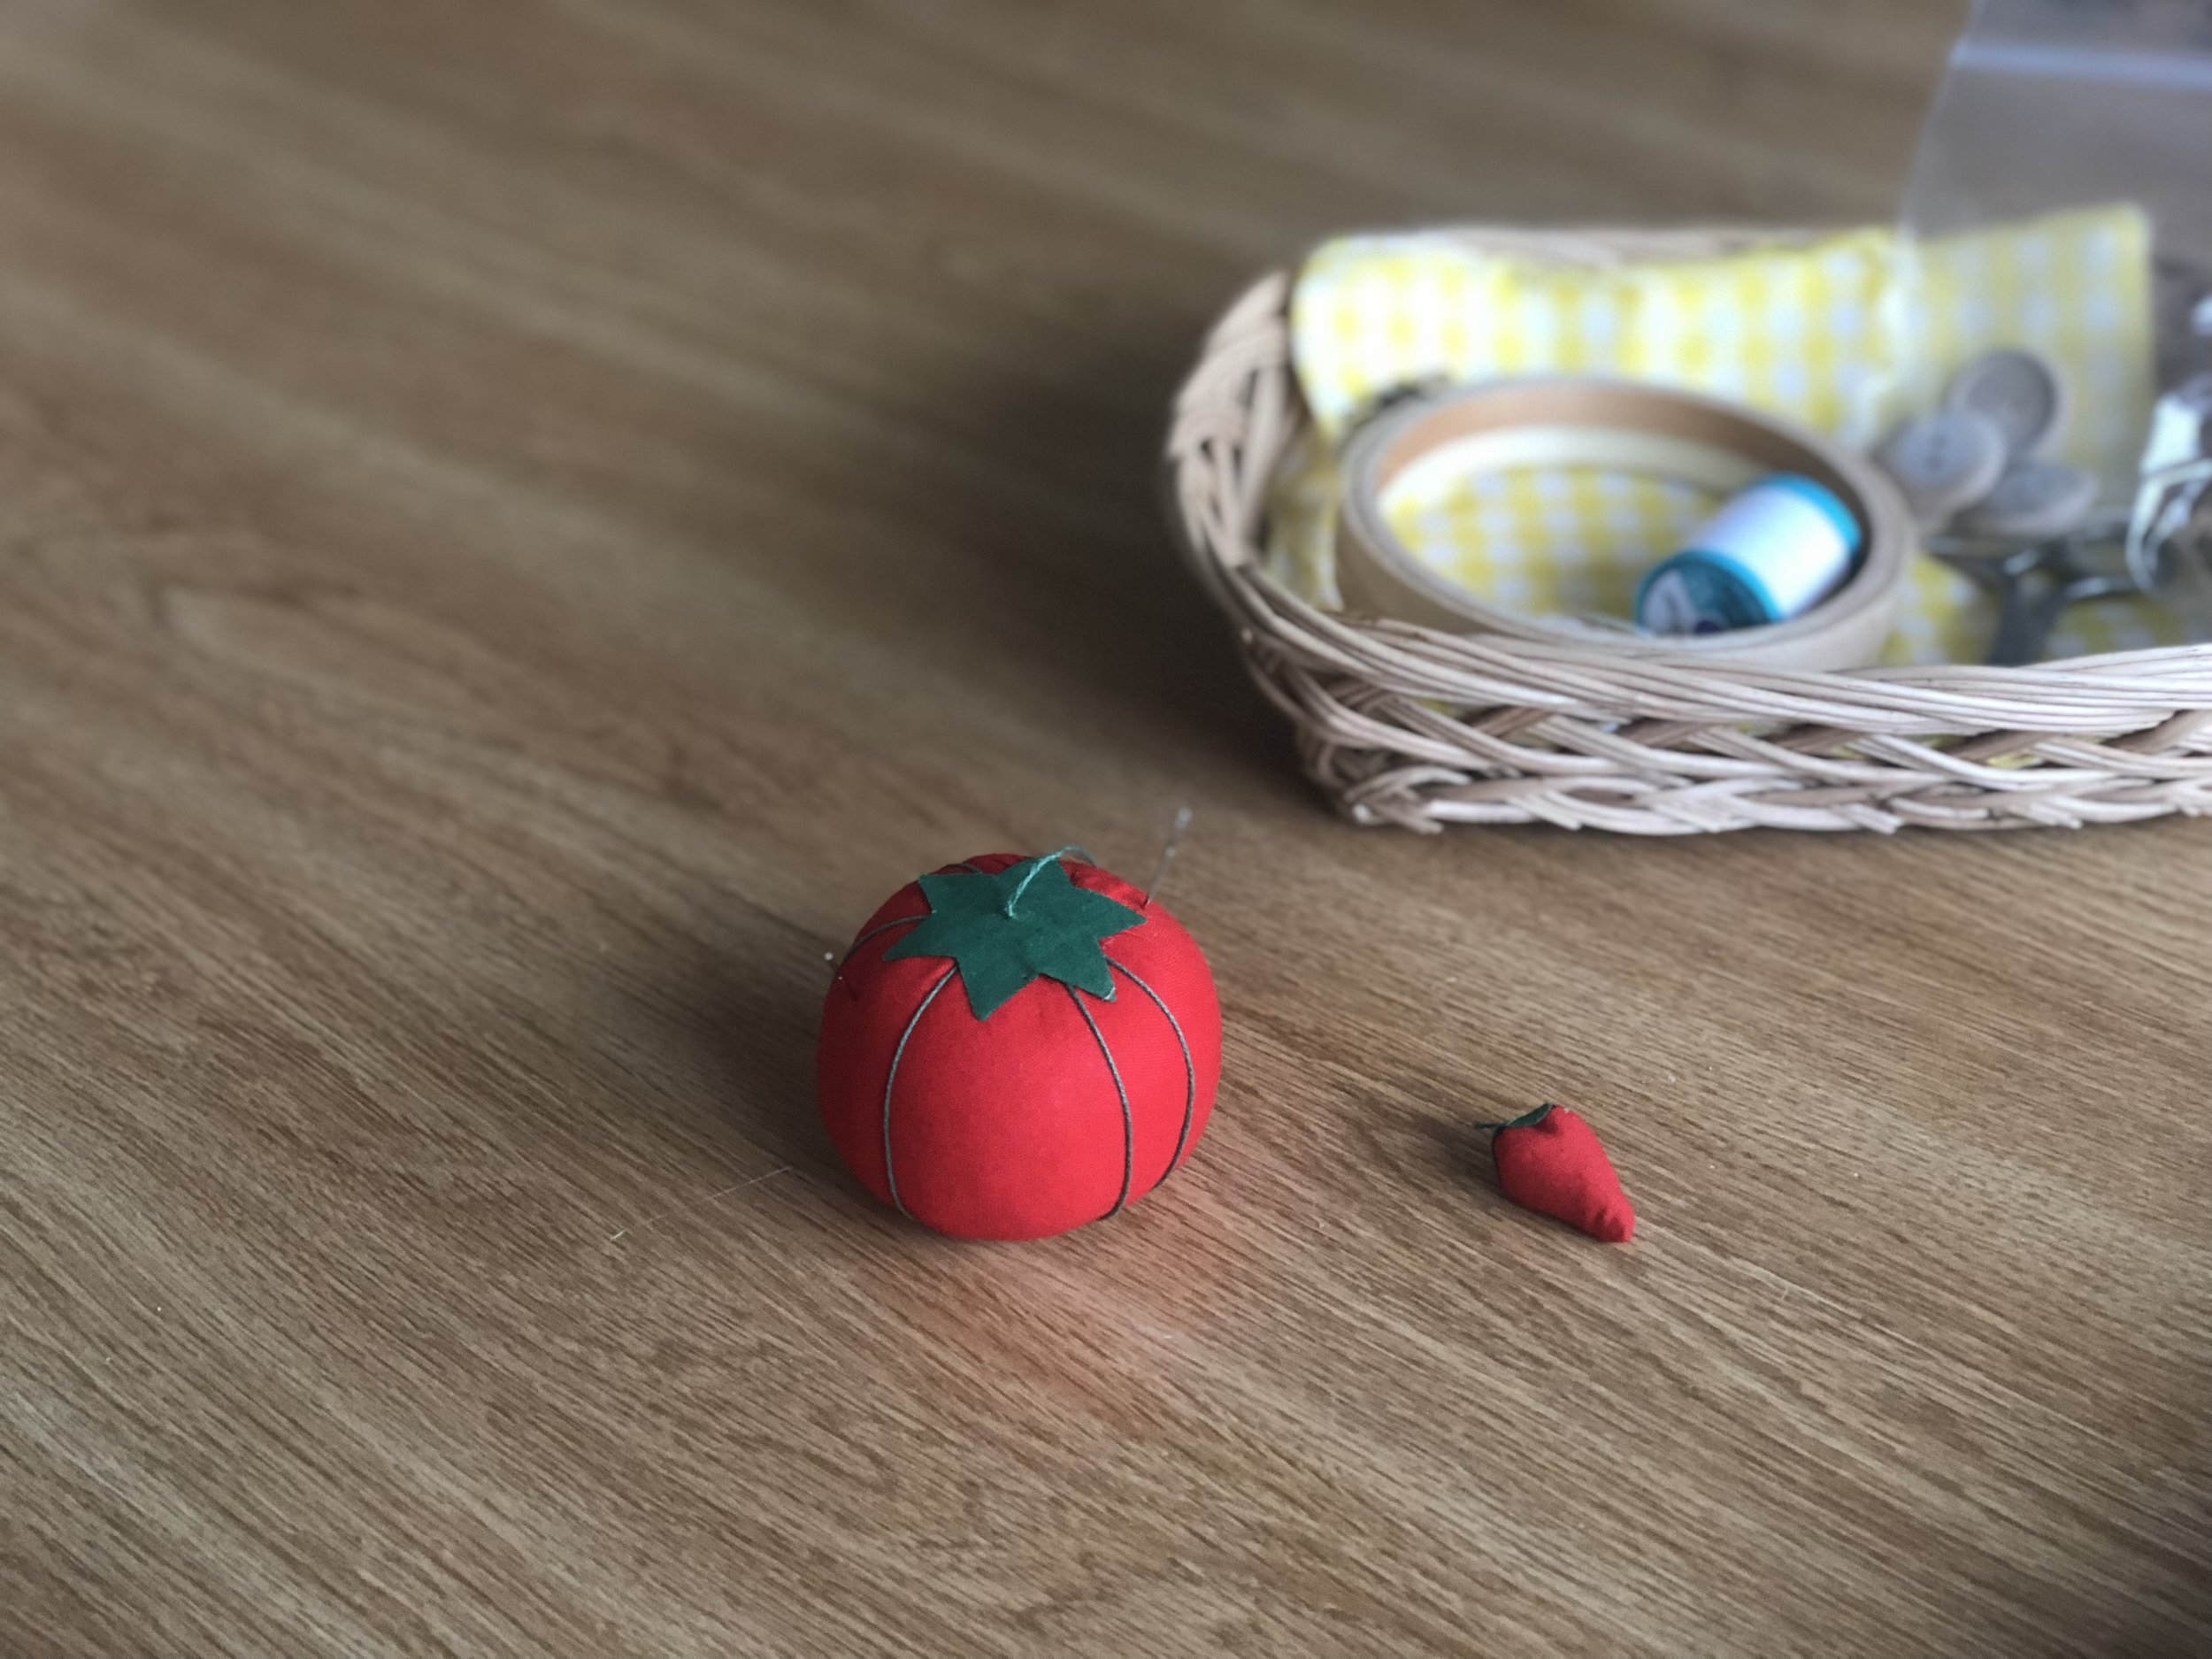
A child sews a running stitch to make a blanket for her bunny.
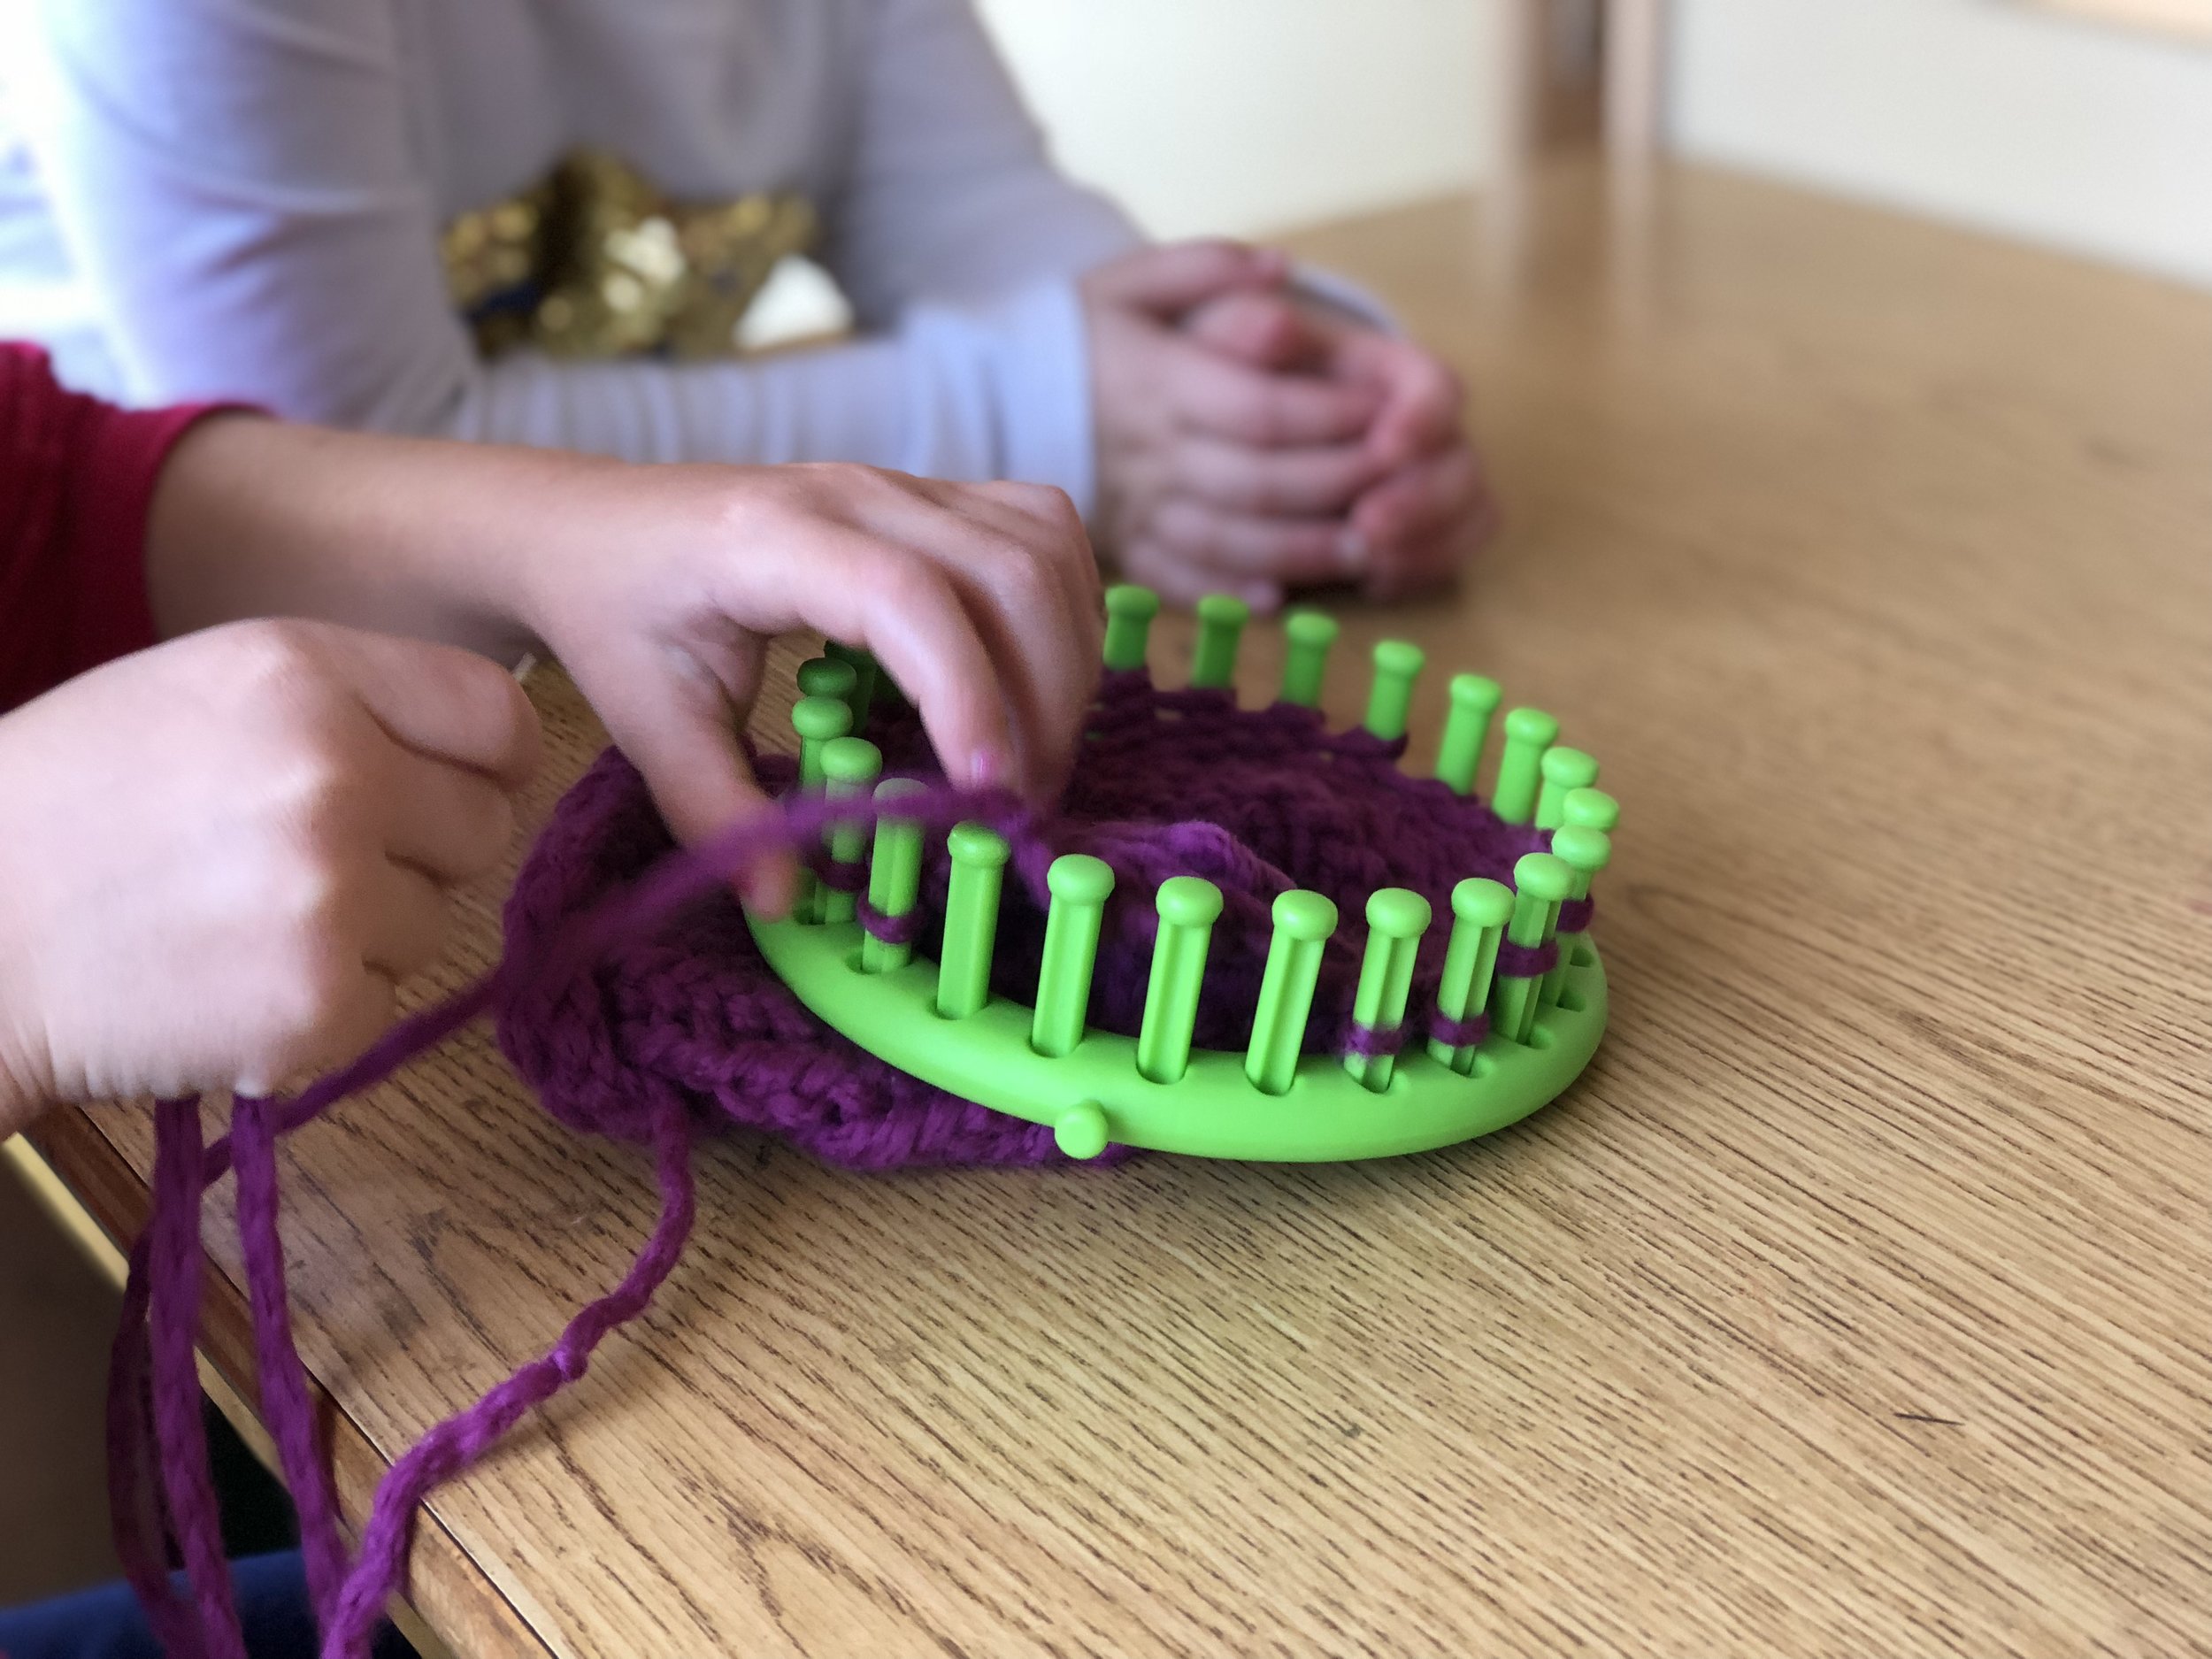
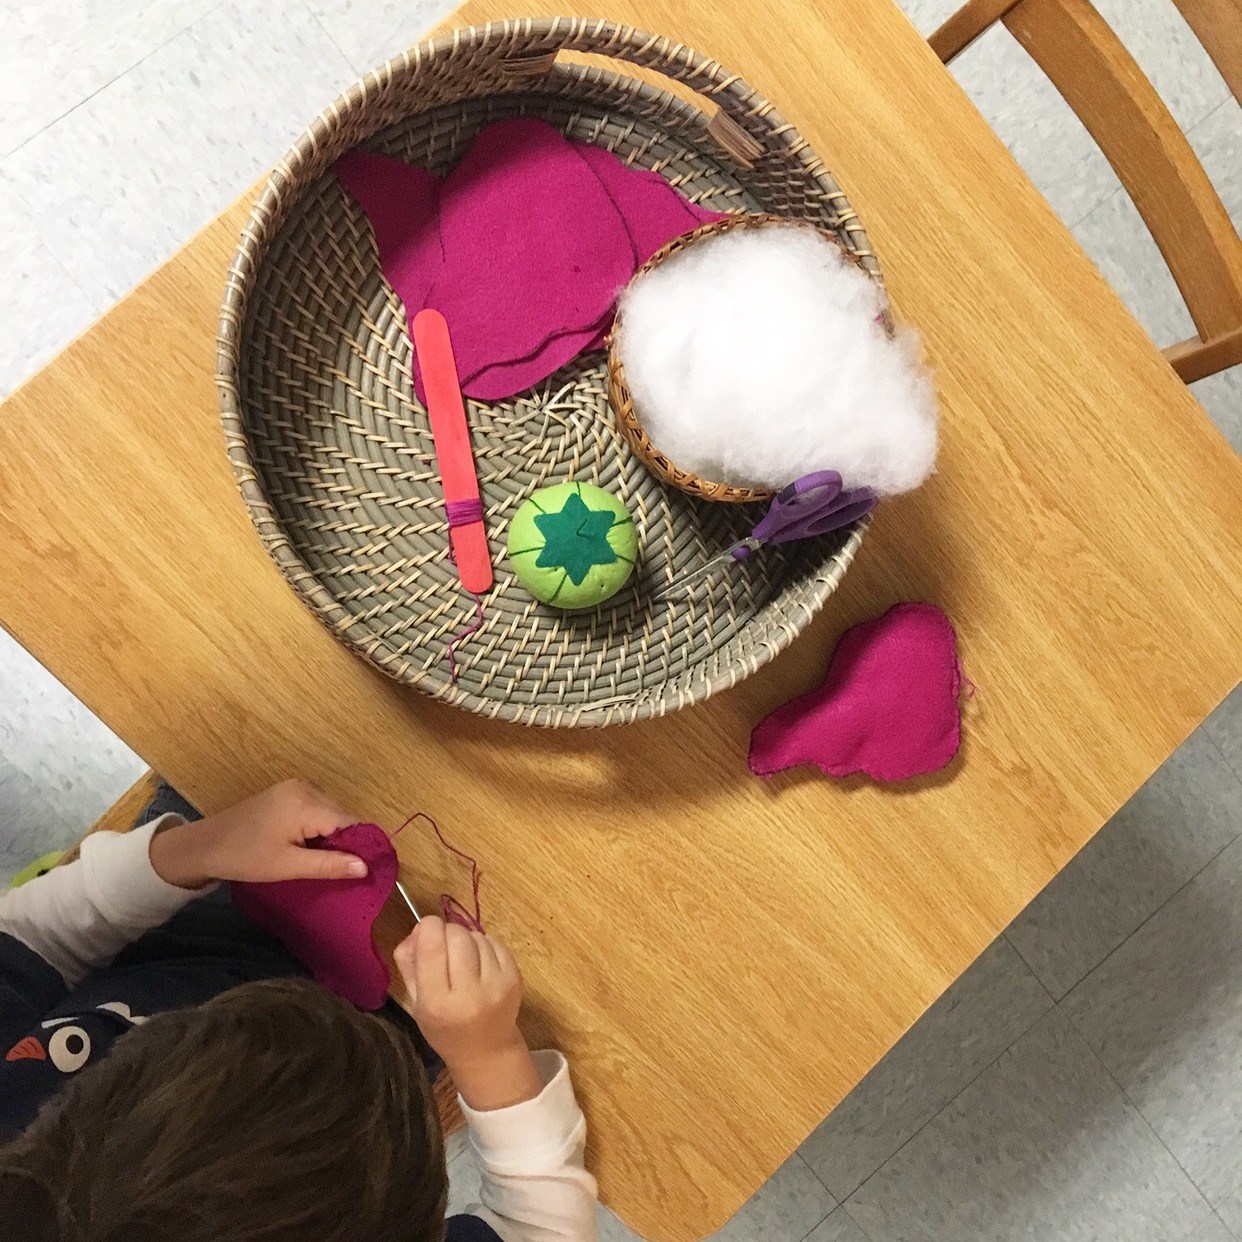
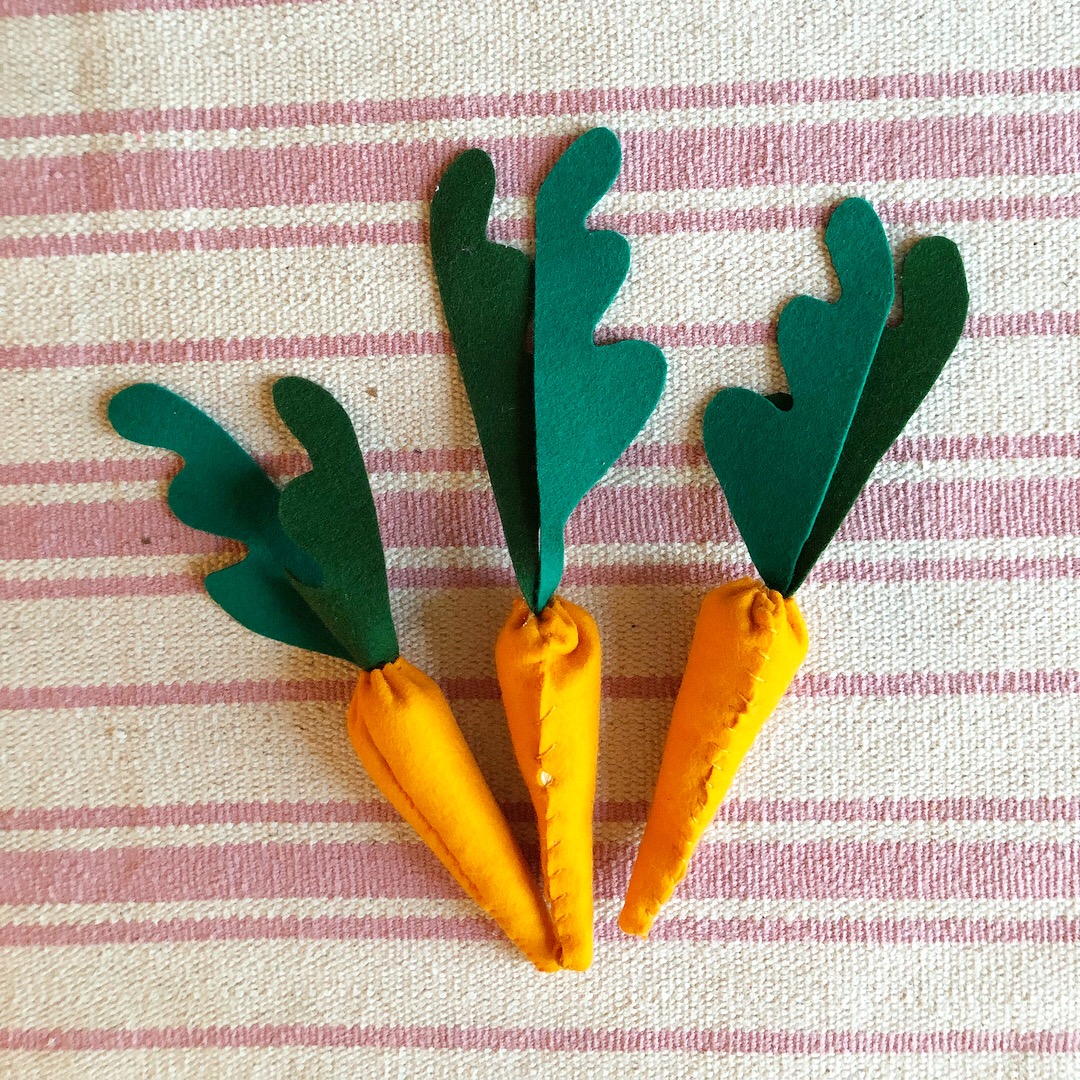
Something that I know for sure, is that children love to make stuff. At school, we learn how to thread a needle, sew a button, embroider, knit, weave, felt. We transform one thing to another and there is incredible value in that.

Paper weaving is a great way to introduce the idea.
I’m really looking forward to attending this years AMS Conference in DC because Sunday morning there is a sewing workshop!!! I feel like I have a good grasp on my sewing curriculum but there is ALWAYS other new ideas to choose from. I haven’t looked at the rest of the schedule yet but I can’t wait for that final morning to come! (Who else is going?!)
How to start a sewing shelf in your classroom (or your home):
Give a lesson on needles. They are sharp, we never poke ourselves or others and we always take care to know where they are. Place a pin cushion, a large eyed needle and some threat in a basket. Start with the first step: needle threading.
Button sewing is a great first step, you’ll be surprised how fast children learn this when given a very straightforward lesson. Find some thick sewing thread to make threading a slightly smaller eyed needle easier. You may have to tie the not yourself for a few days, but always be very deliberate in how you do it: make a circle, pull the end through the circle.
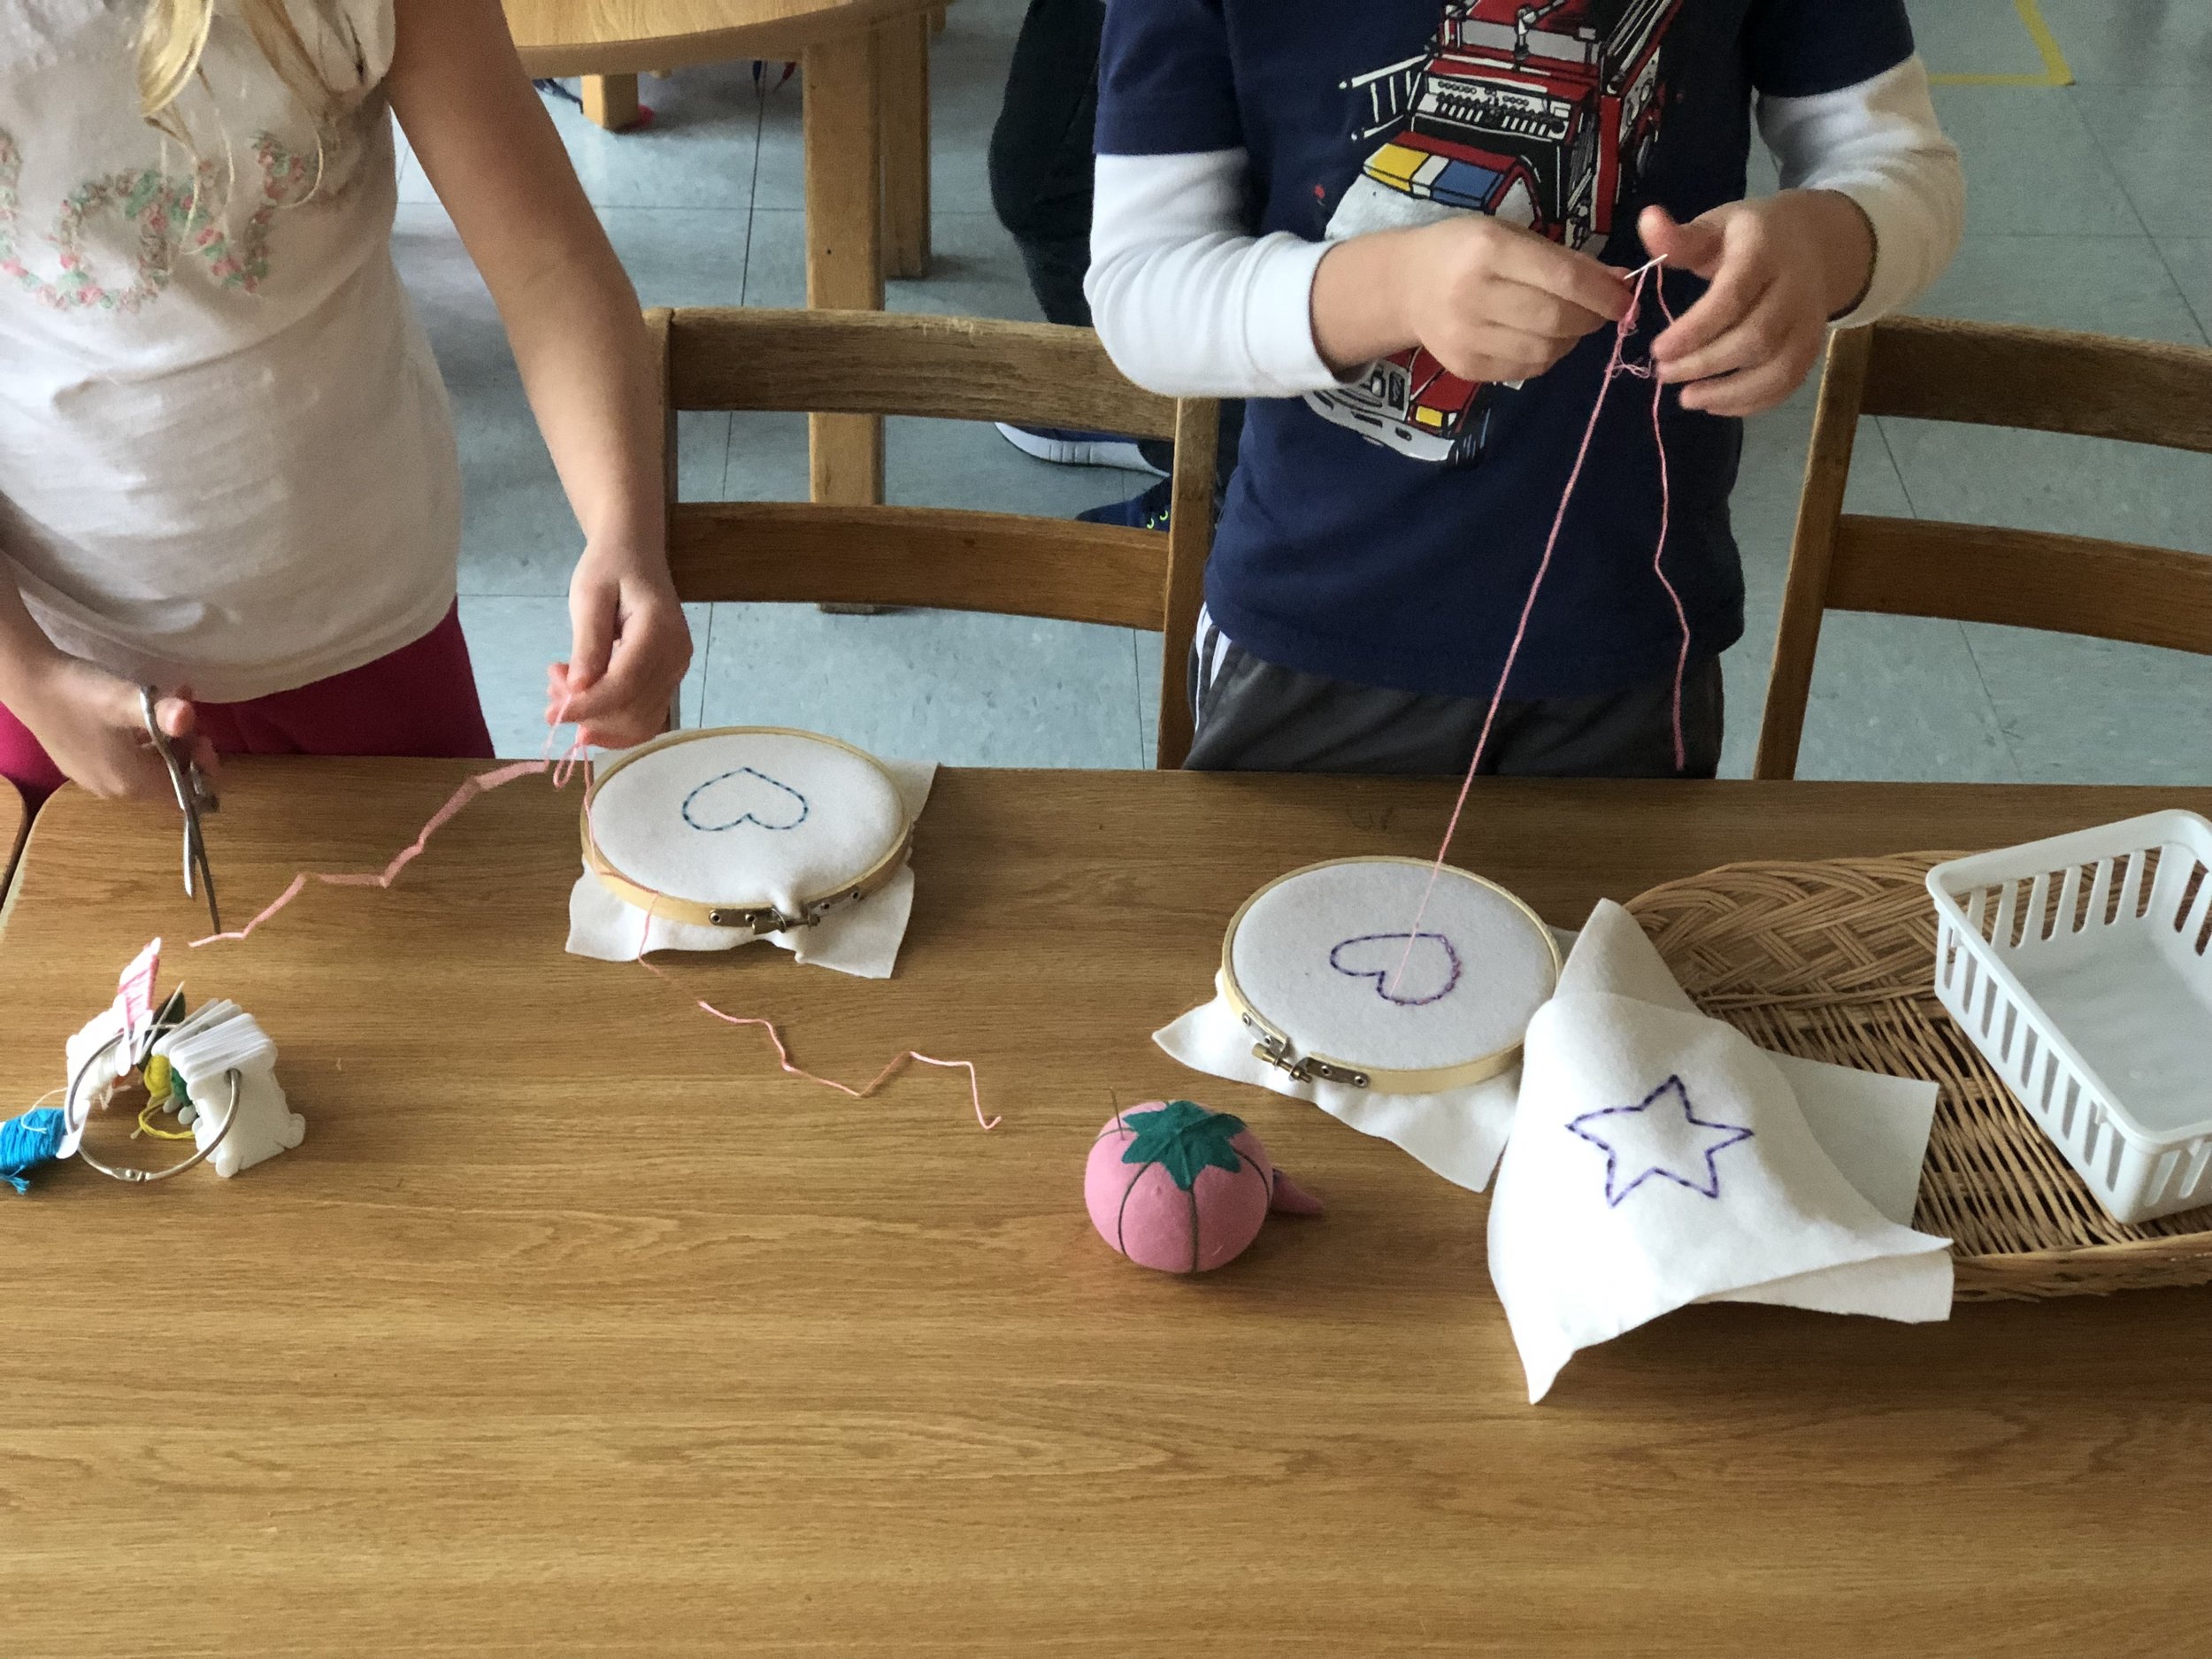
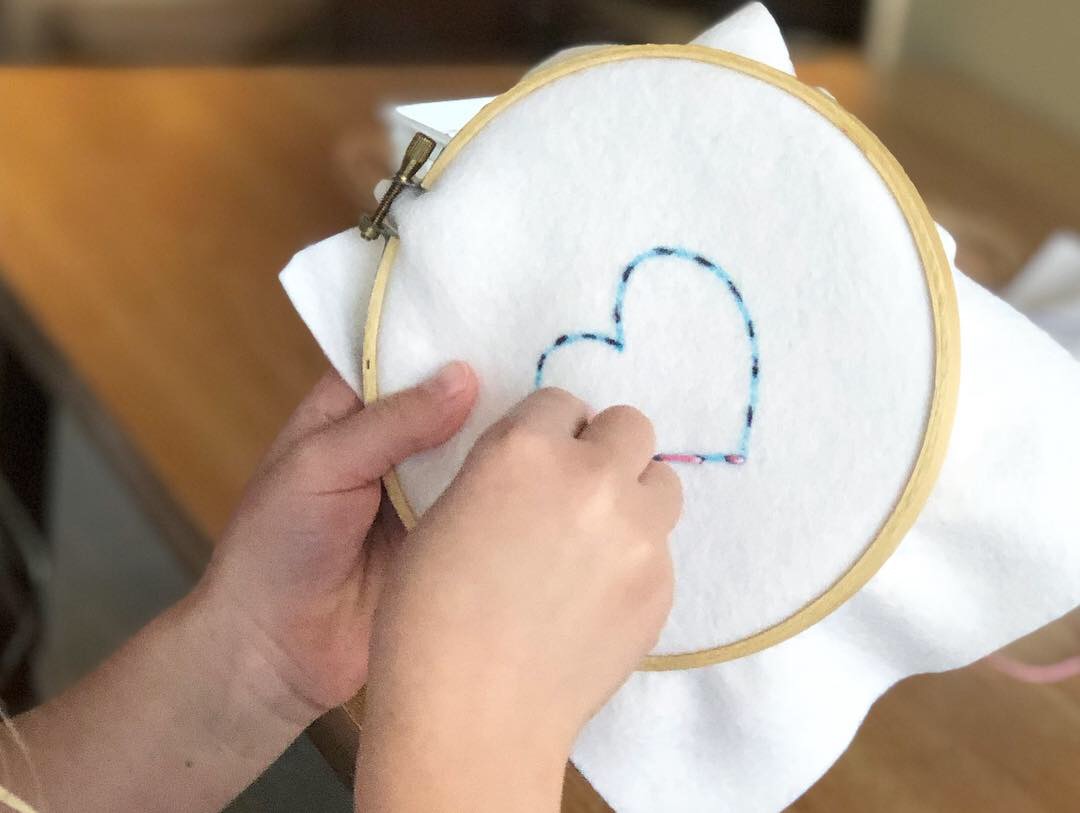
“Embroidering” plastic gridded bookmarks are a great introduction to embroidering on fabric. You can find these plastic grids in the embroidery aisle at any craft store. I always teach children to cut the thread from their shoulder to their hand.
Draw dashed lines with sharpies on burlap. This is a great first fabric for embroidery because children can see through the fabric, making sticking the needle up from the back a little more accurate.